
Last updated November 2, 2026
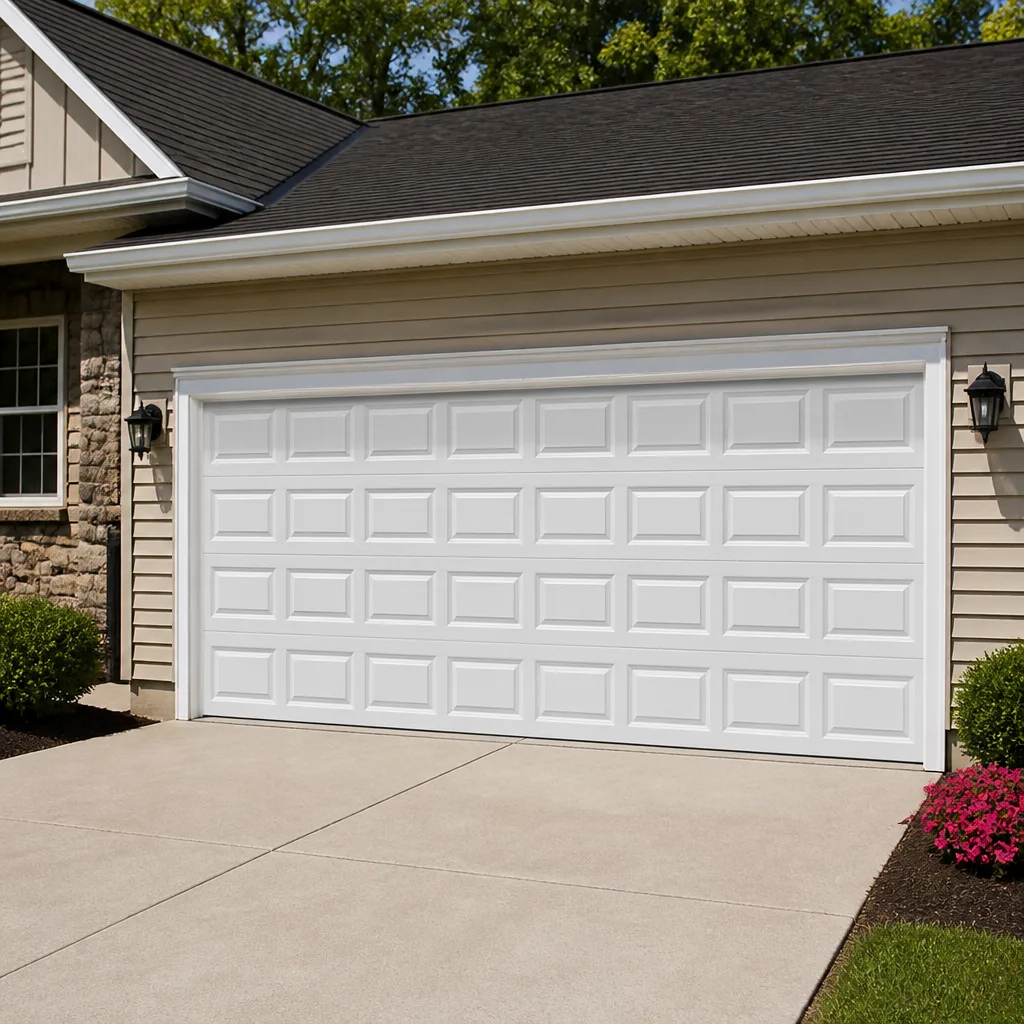 Raised-panel steel
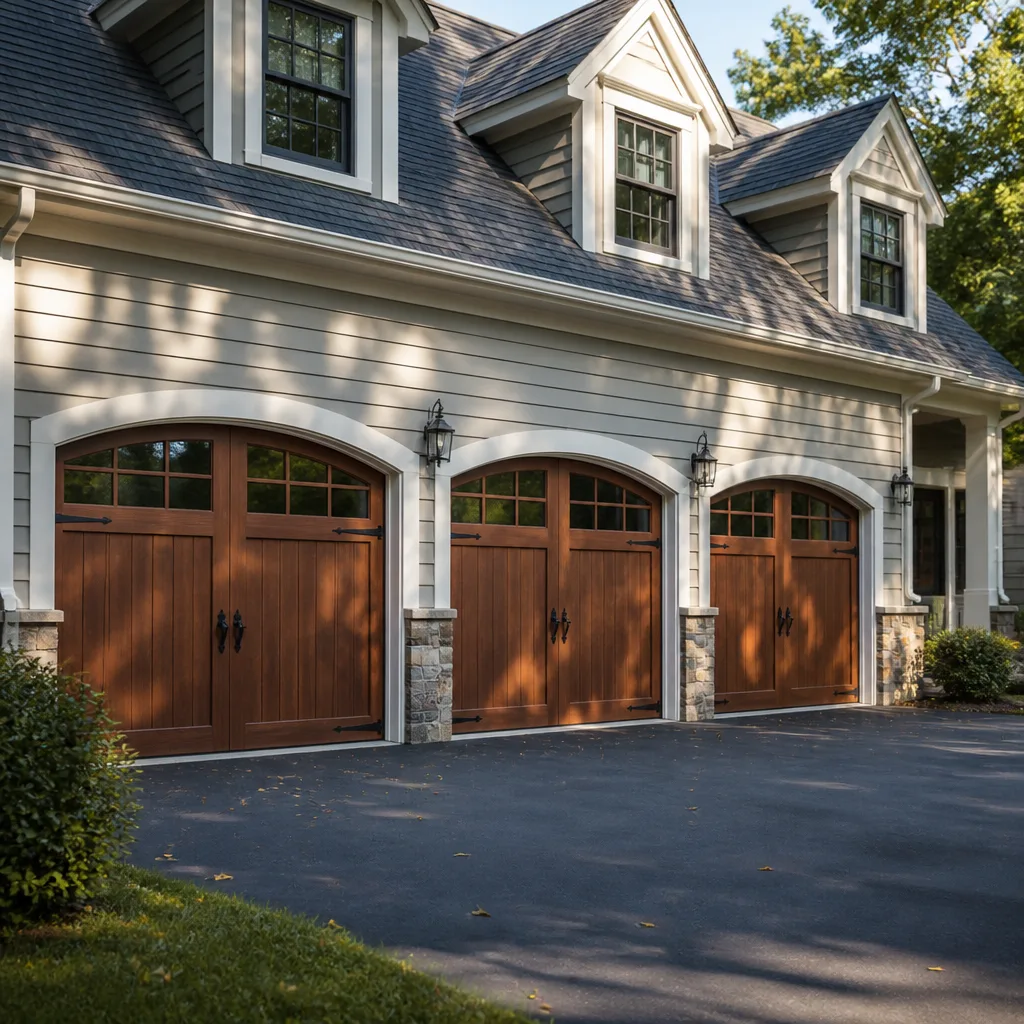 Carriage house
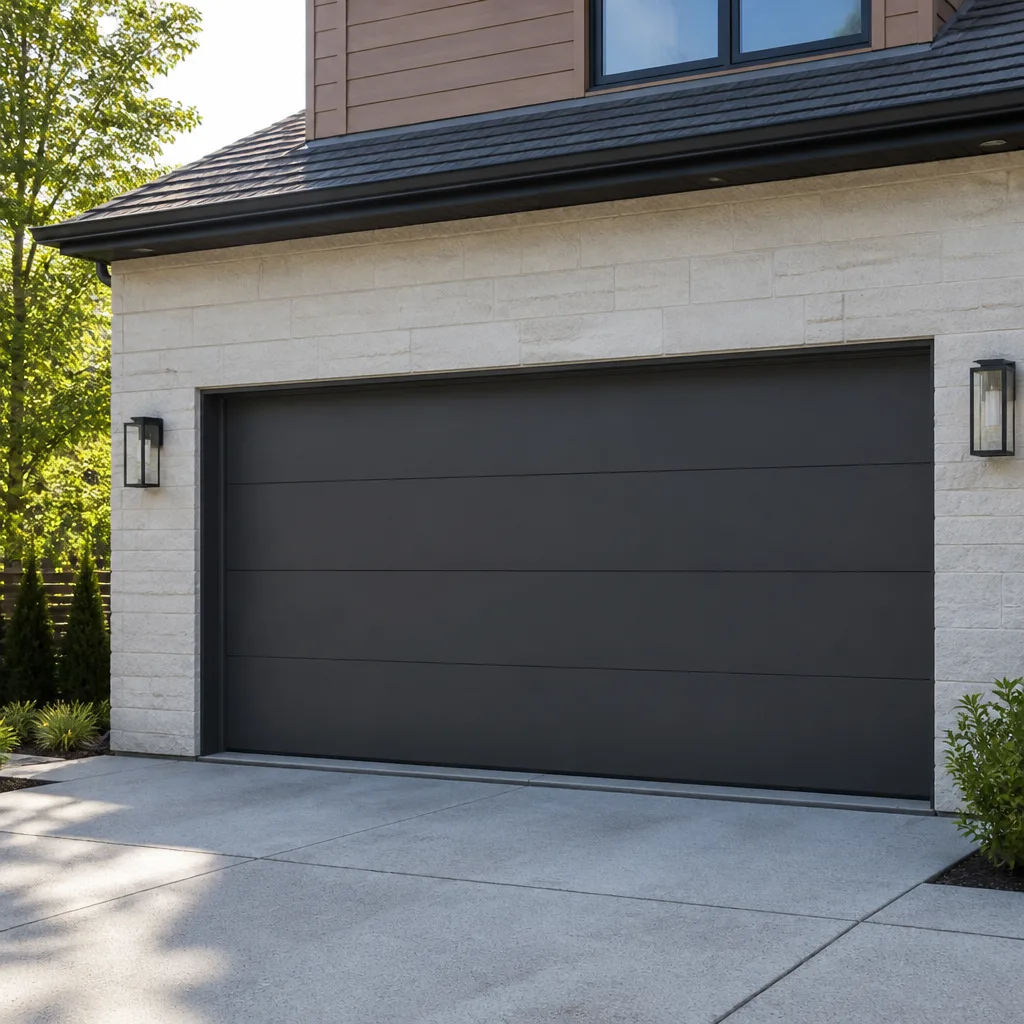 Modern flush
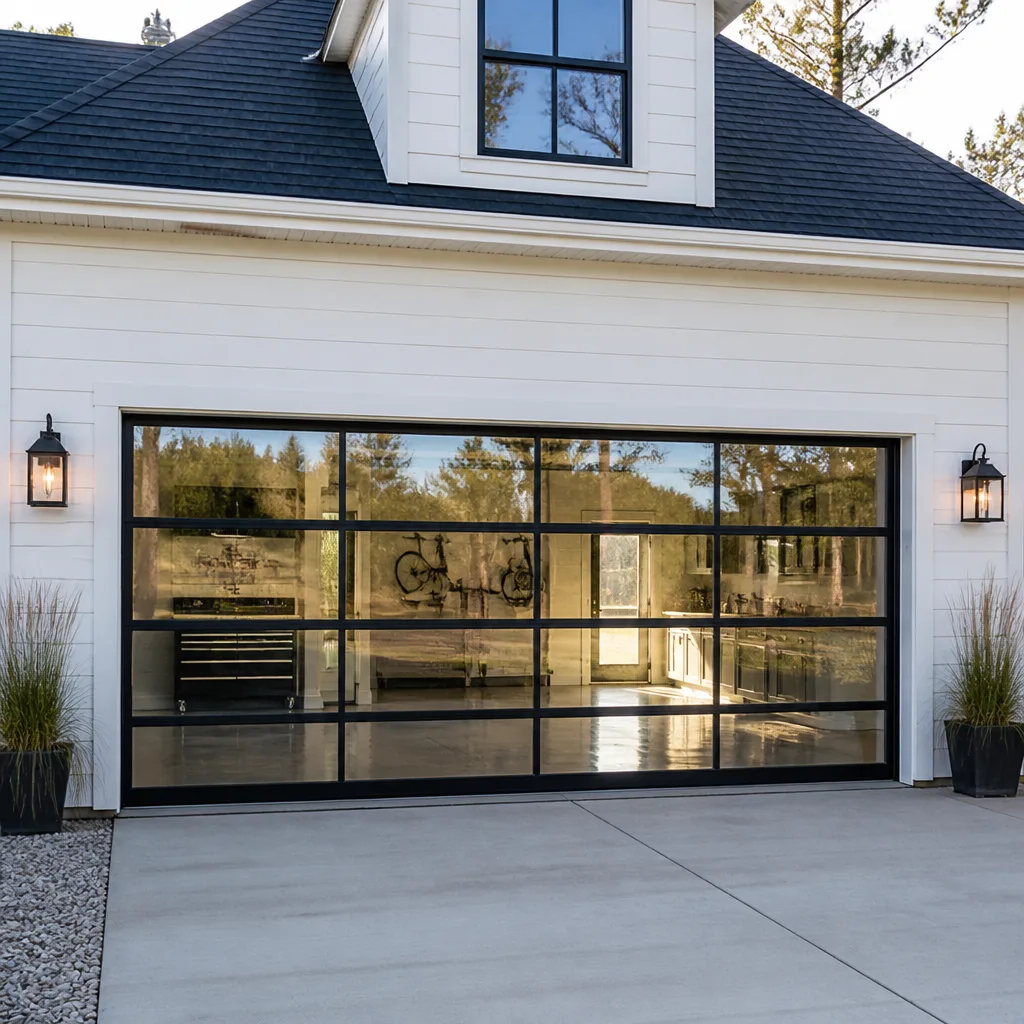 Full-view glass
 LiftMaster openers
 Chamberlain openers
Full 25-point door and opener safety check with every visit - springs, cables, rollers, tracks, and your LiftMaster or Chamberlain opener included
You get a price before we start. It does not change when the truck arrives.
Get your free estimateGarage Door Repair Troubleshooting: Common Problems and How to Fix Them
A garage door that “just slows down” is the symptom homeowners most often ignore, and the one most likely to precede a complete spring failure that costs three times more to fix than catching it early would have. We see this pattern constantly in Moreno Valley, where summer heat accelerates metal fatigue and winter temperature swings expose worn components that had been quietly failing for months. This guide gives you a systematic way to diagnose what’s actually wrong before you touch a tool, because the most expensive mistake isn’t attempting the wrong fix. It’s misdiagnosing the symptom in the first place. By the time you finish reading, you’ll know which problems you can safely resolve yourself and which ones demand our Garage Door Repair services from a specialist who knows your exact brand.
Styles & brands we work with
- Raised-panel steel
- Carriage house
- Modern flush
- Full-view glass
- LiftMaster openers
- Chamberlain openers
Quick Answer
Garage door troubleshooting always starts with identifying whether the problem is mechanical (springs, cables, tracks, rollers), electrical (opener, sensors, wall switch), or structural (panels, hinges, brackets). Most issues are mechanical, and most mechanical issues trace back to spring tension, not the opener. Run a balance test first, listen for where the sound originates, and never attempt spring or cable repairs yourself.
Table of Contents
- Symptom-to-Root-Cause: The Diagnostic Decision Tree
- Sound Diagnosis: What Your Garage Door Is Trying to Tell You
- Movement Problems: Jerking, Sagging, and Stopping Mid-Travel
- Opener Behavior: No Response, Partial Response, and Reversal
- The Balance Test and Force-Resistance Test: Finding Hidden Problems
- The Five Most Misdiagnosed Garage Door Problems
- Brand-Specific Quirks: LiftMaster, Chamberlain, Clopay, and Wayne Dalton
- The Red-Line List: Symptoms That Demand a Professional
- Common Mistakes to Avoid
- When to Call a Professional
- Frequently Asked Questions
- The Bottom Line
Symptom-to-Root-Cause: The Diagnostic Decision Tree
Every garage door failure sends signals before it breaks completely. The problem is that those signals overlap. A door that reverses mid-travel could be a sensor issue, a spring issue, or a logic board issue, and each requires a completely different repair. That’s why we start with a decision tree that separates symptoms into three categories: sound, movement, and opener behavior. Once you know which category you’re in, you can narrow the diagnosis instead of guessing.
Here’s how we work through a troubleshooting call in Moreno Valley. We watch the door run a full cycle with the opener engaged, then disconnect the opener and run the door by hand. Sound tells us where friction or breakage is happening. Movement tells us whether the door is balanced. Opener behavior tells us whether the electrical system is reading the door correctly. Two-thirds of the time, the opener gets blamed for a mechanical problem that has nothing to do with it.
The Three Diagnostic Paths
- Sound problems: Grinding, squealing, popping, or silence when you press the button. These point to rollers, hinges, springs, or the opener itself.
- Movement problems: Jerking, sagging on one side, stopping mid-travel, or drifting down after opening. These point to balance, track alignment, or structural components.
- Opener behavior problems: No response, partial response, lights flashing, or reversal. These point to logic boards, safety sensors, remotes, or force settings.
The single most effective diagnostic step is the manual balance test, which we cover in detail below. Before that, though, you need to know what the sounds and movements mean when they happen together. A door that groans and sags on one side is a spring issue. A door that just groans but stays level is usually lubrication or rollers.
In Moreno Valley specifically, we diagnose a lot of heat-related issues that homeowners in cooler climates rarely encounter. Rubber seals bake and crack. Lubricants thin out and drip away. Circuit boards warp. If you’re troubleshooting during a heat wave and your door behaves differently than it did in spring, temperature is almost always a contributing factor.
Sound Diagnosis: What Your Garage Door Is Trying to Tell You
Sound is the earliest warning system your garage door has. Each type of noise corresponds to a specific set of likely causes, and learning to distinguish them saves you from replacing parts that aren’t broken. Here’s what we listen for on every service call.
Grinding: This is metal-on-metal contact, and it almost always comes from one of three places: the rollers running against a scored track, the opener’s drive gear stripping out, or a bearing inside a roller that has locked up. The fix depends on where the grinding originates. A roller that grinds needs replacement, and when one roller goes, its neighbors usually follow within months. A stripped drive gear means the opener’s internal teeth are shearing off, which requires opener work, not door work.
Squealing: A high-pitched squeal is friction from parts that should move freely. Most commonly it’s dry rollers or hinges. In Moreno Valley’s dry heat, lubricant can evaporate faster than in coastal climates, so doors here need lubrication more often. A general-purpose garage door lubricant applied to rollers, hinges, and bearing plates usually silences this, but if the noise persists after lubrication, you have a failing bearing or a roller that’s worn past the point where lubricant helps.
Popping: A sharp pop during operation usually means a section of the door is binding then releasing suddenly. This happens when a track is slightly out of alignment or a hinge bracket has loosened. It’s not dangerous on its own, but it causes uneven wear that eventually damages the tracks. In extreme cases, popping is the sound of a cable momentarily slipping on a worn drum.
Silence: This is the sound most people don’t think about. You press the wall button, hear a click from the opener, but nothing moves. Silence with a click points to opener motor failure, a blown capacitor, or a disconnected drive system. Silence with no click at all points to a power issue or a dead logic board. Start by checking your garage’s GFCI outlet and circuit breaker before assuming the worst.
Movement Problems: Jerking, Sagging, and Stopping Mid-Travel
Movement is the clearest indicator of your door’s overall health. A healthy door moves smoothly and evenly through its entire travel arc. Any deviation from smooth, level operation is diagnostic information.
Jerking During Operation
A door that jerks as it moves is fighting resistance somewhere. The most common causes are misaligned tracks, a bent track section, or debris in the track channel. Run your hand along the inside of the track and feel for dents, gaps, or foreign objects. A jerking door that gets worse over weeks is usually a track that’s pulling further out of alignment as mounting bolts loosen. The fix is track realignment, which requires releasing tension and adjusting bolt positions. This is a moderate job that a homeowner with patience can do, but getting the tracks dead-level matters more than most people realize. A track that’s off by a quarter inch causes the rollers to bind and accelerates wear on every moving part.
One-Side Sag
If one side of your door sits lower than the other, stop and check your cables. When a cable frays or begins to separate, the door loses balanced support on that side. The springs push unevenly, the weight shifts, and the door starts eating its own rollers. A one-side sag that appears suddenly usually means a cable has jumped the drum or snapped. Both scenarios require professional attention, because working with the cable side of a spring system without the right tools and training is how serious injuries happen. The force stored in a torsion spring is enough to break bones.
Stopping Mid-Travel
When a door stops partway and reverses, check the safety sensors first, but don’t stop there. If the sensors are clean and aligned and the door still reverses, test the door by hand. Disconnect the opener and try to lift the door. If it’s heavy or hard to move, the springs have lost tension and the opener is tripping its force-safety feature. This is the classic case where the opener gets blamed for a spring problem. The door isn’t reversing because of a sensor issue. It’s reversing because the opener is working exactly as designed, refusing to push a door that now weighs the equivalent of three normal doors.
Opener Behavior: No Response, Partial Response, and Reversal
Opener problems fall into three patterns, and each pattern narrows the diagnosis significantly. Understanding these patterns saves you from replacing a logic board when the real problem is a wall button.
No response at all: This is an electrical problem. The chain of components is: wall button or remote, wiring or radio signal, logic board, motor. Start with power. Check the GFCI outlet. Check the breaker. In Moreno Valley, we respond to a surprising number of “dead opener” calls that turn out to be a tripped GFCI from monsoon-season humidity or a dead back-up battery in a smart opener. If power is confirmed at the outlet, bypass the wall button by using the remote. If the remote works, your wall button or its wiring has failed. If both fail, the logic board or motor is likely dead.
Partial response: The opener hums but doesn’t move, or moves sluggishly. A hum with no movement is usually a failed motor start capacitor, which is a common failure on older LiftMaster and Craftsman units. A sluggish opener that struggles to lift the door is often working against a spring that has lost tension. Again, the opener isn’t broken. It’s overloaded.
Reversal during close: This is the safety feature doing its job. First, clean the sensor lenses and check alignment. Second, check for sun glare, which is a real issue in Moreno Valley for west-facing garages in the late afternoon. Direct sunlight can wash out the sensor beam and cause phantom reversals. If sensors are clean and aligned and the door still reverses, switch the sensors if they’re old. If the problem persists, run the manual balance test. A door that reverses near the floor specifically often has a cable or roller problem that increases resistance at a single point in travel.
For smart openers, error codes tell you more than symptoms do. LiftMaster and Chamberlain units flash diagnostic codes through the LED. Refer to your opener manual for the specific code, but common ones include 1 flash for sensor obstruction, 4 flashes for sensor misalignment, and 5 flashes for motor overheat. We cover these in more depth below.
The Balance Test and Force-Resistance Test: Finding Hidden Problems
Most garage door problems are invisible when the opener is running the show. The opener masks spring weakness, cable wear, and track issues because it applies consistent motor force regardless of door condition. The moment you disconnect the opener and run the door manually, you get an honest reading of the door’s actual health.
The Balance Test: Step by Step
- Close the door. Pull the red manual release cord to disconnect the opener from the door.
- Lift the door by hand to about waist height. It should feel light, not heavy.
- Release the door. A balanced door stays roughly in place, moving no more than a few inches either way.
- If the door drops, the springs have lost tension. If it rises, the springs are over-tensioned.
- Run the door through its full travel by hand. Feel for resistance, binding, or uneven weight shift.
This test reveals the single most commonly missed garage door problem: weak springs. A door that requires real effort to lift or that crashes down when released has springs that are no longer doing their job. The opener’s force sensor may still manage to run the door, but the opener motor works harder, runs hotter, and fails years earlier than it should. In our experience across Moreno Valley, homeowners who run this test twice a year catch spring wear early and avoid emergency calls.
The Force-Resistance Test
Run the door by hand slowly from fully closed to fully open, noting where you feel resistance. Smooth resistance increase is normal. A point where the door suddenly requires more force, then releases, indicates a track issue, a worn roller, or a loose bracket at that specific point. This is how you find the source of that popping sound we covered earlier. The door is binding against something that’s out of alignment, and your hand can feel what the opener motor masks with consistent force.
These two tests take five minutes and require no tools. They’re the single best diagnostic shortcut for any garage door, regardless of brand. We run them on every service visit before we even look at the opener.
The Five Most Misdiagnosed Garage Door Problems
Misdiagnosis costs homeowners more than any other single factor. We’ve replaced openers for clients whose real problem was a spring. We’ve diagnosed wiring issues that three other companies treated as logic board failures. Here are the five problems most likely to be diagnosed incorrectly.
1. “Opener failure” that’s actually a spring tension issue
This accounts for roughly 60% of the “failed opener” diagnoses we see. The door gets heavy because the springs have lost tension. The opener works harder. Eventually the opener’s force limiter trips and the door reverses or refuses to move. The homeowner, and unfortunately many generalist repair people, assume the opener has failed. A specialist checks the balance first. If the door is heavy, the opener isn’t the problem. Springs are the problem, and replacing the opener without fixing them means the new opener faces the same overload.
2. “Broken sensor” that’s actually sun glare
West-facing garages in Moreno Valley get direct afternoon sunlight into the sensor path. The sunlight overpowers the infrared beam and the door refuses to close. Cleaning and realigning the sensors doesn’t fix anything. The solution is a sun shield, or reversing the sensor positions if wiring allows. If you only notice reversal issues in the late afternoon, sun glare is your culprit.
3. “Worn-out motor” that’s actually a capacitor
When an opener hums but won’t start, the capacitor has failed. The motor itself is usually fine. A capacitor is a ten-dollar part vs. a full motor replacement. On older LiftMaster and Craftsman models, this is incredibly common, and it’s one of the cheapest repairs an owner can authorize. If your opener hums, ask about the capacitor specifically.
4. “Track problem” that’s actually worn rollers
Doors don’t usually wear out tracks without help. What wears out are nylon or steel rollers, whose bearings grind down over years of use. Worn rollers wobble and cause the door to shimmy, which gets diagnosed as a track alignment issue. Inspect the rollers first. If they’re blackened, deformed, or loose on their stems, replacing them often eliminates the shimmy without touching the tracks.
5. “Cable problem” that’s actually a spring problem
Cables rarely fail on their own. They fail because the springs lost tension, causing the door weight to shift onto the cables unevenly. Fixing the cable without addressing the spring means the new cable fails again, often within months. This is another case where specializing in the full mechanical system, rather than fixing a single visible symptom, is the difference between a repair and a recurring problem.
Brand-Specific Quirks: LiftMaster, Chamberlain, Clopay, and Wayne Dalton
Every brand has says. Knowing yours turns a vague symptom into a specific diagnosis. We work with eight industry-leading brands every week, and the differences between them are meaningful.
LiftMaster Smart Openers: Error Code Interpretation
LiftMaster builds its openers with a diagnostic LED that flashes specific patterns. The most useful ones: 1 flash means sensor obstruction, 4 flashes means sensor misalignment, 5 flashes means the motor overheated, and 6 flashes means the force setting was triggered. If your LiftMaster flashes 6, run the balance test immediately. The opener is telling you the door is too heavy or hitting resistance. For Wi-Fi-enabled LiftMaster units, the myQ app also logs error events, which gives you a service history for your opener. This is useful when a problem comes and goes.
Chamberlain Openers: The myQ Ecosystem and Logic Board Issues
Chamberlain shares a parent company with LiftMaster, and many Chamberlain models use the same motor platform. The common failure points differ slightly. Chamberlain’s consumer lineup runs into more logic board issues from power surges, especially in areas of Moreno Valley where summer thunderstorms cause brownouts. The fix is usually a board replacement, which is a reasonable job for a professional and a poor candidate for DIY work. Chamberlain units also benefit from checking the travel limit settings whenever the door’s weight changes, because these openers are sensitive to load changes.
Clopay Doors: Panel Alignment and Hinge Wear
Clopay builds doors with precise panel alignment, which means panel problems show up as visible gaps or uneven seams at the section joints. If your Clopay door shows a gap at one seam, check the hinge brackets on the affected section. Clopay hinges are fastened into the door frame, and a loose or stripped fastener allows the panel to shift. The alignment is the tell. Catching it early prevents panel damage.
Wayne Dalton Torque Tube: Warning Signs
Wayne Dalton uses a torque tube system instead of conventional torsion springs on many models. The tube is internal, so you can’t visually inspect the spring. The warning signs instead are: the door feels heavier at the bottom of travel, you hear a ticking sound from the tube as it winds and unwinds, or the door stops mid-operation with no visible cause. Any of these on a Wayne Dalton door means the torque tube needs professional inspection. The system stores the same dangerous force as standard torsion springs, just in different packaging.
The Red-Line List: Symptoms That Demand a Professional
Some garage door problems are dangerous to attempt as a DIY repair. The physics here is straightforward: torsion springs store enough force to lift a 200-pound door hundreds of times, and that force releases instantly if the spring breaks while you’re working on it. The same applies to cables under load. Here are the symptoms that mean you should stop troubleshooting and call a specialist.
- Any visible break in a torsion or extension spring: A broken spring isn’t repairable by a homeowner. It requires specialized winding bars and knowledge of exact tension specifications.
- Frayed, kinked, or separated cables: Cables run through the spring system. Working on them while the spring is under tension is a serious injury risk.
- The door falls quickly when the opener is released: This means the springs have failed completely and the door’s full weight is unsupported.
- The door jumps off one or both tracks: A door off its track is unstable and can fall. It also means the roller system has failed.
- Visible damage to the bottom bracket or cable drum: These components anchor the entire lifting system. Failure here can cause catastrophic release.
If your door shows any of these five symptoms, close it if you safely can and leave it closed. Call a specialist who works with these systems daily. The cost of professional repair is measured in dollars. The cost of a home-improperly-repaired door failing is measured in emergency room visits and property damage. This is what we mean when we say garage doors are all we do: we know where the danger lives and we respect it. For How to Hire a Garage Door Contractor in Moreno Valley: A Step-by-Step Guide, see our companion resource.
Common Mistakes to Avoid
- Replacing the opener when the springs are weak. We covered this above, but it bears repeating. The opener is rarely the primary failure. Test the balance before spending money on an opener.
- Lubricating a worn-out roller instead of replacing it. Lubricant helps bearings that still have life. Worn bearings need replacement. If the roller wobbles, lubricant won’t fix it.
- Adjusting spring tension without the right tools. Garage door springs are not adjustable with generic hand tools. The winding process requires specific bars and precision. Improper winding causes immediate or delayed failure.
- Ignoring intermittent problems. Problems that come and go almost always worsen. A sensor that fails intermittently is failing permanently. A door that reverses only sometimes is showing you your future. Diagnose it now.
- Using WD-40 on garage door parts. WD-40 is a penetrant, not a lubricant. It actually strips away garage door grease. Use a dedicated garage door lubricant for rollers and hinges.
- Forgetting to service during extreme weather periods in Moreno Valley. Our summers bake seals and lubricants. Schedule a check before the worst heat hits rather than waiting for a failure.
- Running the door without checking the track channels for debris. A pebble or bit of construction debris in the track causes binding and roller damage over time. Check the tracks visually before running the door after any outdoor project.
When to Call a Professional
Call a professional when the problem involves springs, cables, tracks that require realignment, or any opener condition that persists after you’ve checked power and sensors. The balance test we described earlier is the dividing line: if your door doesn’t pass it, you’re dealing with a spring issue, and spring issues are not DIY territory. You should also call when you’ve already tried the straightforward fixes, cleaning sensors, checking power, lubricating, and the problem persists. At that point, continuing to guess wastes time and often money. Dynasty Garage Door Repair offers free estimates in Moreno Valley, and our technicians work across eight major brands including LiftMaster, Chamberlain, and Wayne Dalton. Explore more guides & resources on our blog. Call (866) 623-1879 and we’ll diagnose the actual problem, not just the symptom.
If you need service outside of troubleshooting, we also handle full garage door opener repair in Moreno Valley as well as complete garage door installation in Moreno Valley for homeowners ready to replace rather than repair.
Frequently Asked Questions
Reversal during closing is your opener’s safety feature responding to either an obstructed sensor beam, sensor misalignment, or increased resistance from a mechanical problem like weak springs. Check the sensor lenses first, then run a manual balance test. If the door feels heavy by hand, the opener is reversing because it’s overloaded. For persistent reversal issues in Moreno Valley, sun glare in west-facing garages is also a common culprit in the afternoon.
Run the balance test described above. Disconnect the opener, lift the door manually, and release it. A door that drops or feels heavy has worn springs. You may also see a visible gap in a torsion spring, which means it has broken. A broken spring requires professional replacement. Weak springs cause the opener to work harder and fail sooner, so this isn’t a problem to defer.
A humming opener that doesn’t move usually points to a failed motor start capacitor, especially on older LiftMaster and Craftsman models. The capacitor is an inexpensive component that gives the motor its initial jolt. If the capacitor is fine, the motor itself has likely failed. Either way, a professional can confirm the diagnosis quickly.
No. Torsion and extension springs are under extreme tension and require specialized winding bars and training to service safely. A spring that releases unexpectedly can cause serious injury. This is one repair where the cost of professional service is always justified. Garage door spring repair is a core service we handle daily across Moreno Valley.
Run a visual inspection and a balance test every six months. Check rollers, hinges, and tracks for wear. Lubricate moving parts with a garage door specific lubricant annually at minimum. In Moreno Valley’s climate, we recommend twice yearly because summer heat accelerates component wear faster than in cooler regions. Most major failures announce themselves through symptoms, and regular checks catch those symptoms before they become emergencies.
An uneven door usually means a cable has frayed, jumped the drum, or snapped on one side, or a spring has lost tension asymmetrically. It can also indicate a hinge or bracket failure on one section. An uneven door will cause accelerated wear on every moving component, so address it promptly. Get a specialist to inspect the cables and springs as soon as you notice the sag. Call (866) 623-1879 for a free estimate if you’re seeing this in your Moreno Valley garage.
Start with power. Check the GFCI outlet, circuit breaker, and any battery backup. If power is confirmed, test both the wall button and remote. If neither works, the logic board or motor is likely dead. If one works, the other’s wiring or signal path is the issue. On smart openers, check the myQ or LiftMaster app for error codes before calling for service.
Cost depends entirely on the diagnosis. A capacitor replacement on an opener is an inexpensive repair. A broken spring replacement costs more because of the part and the labor involved. Panel and track realignment falls somewhere in between. The cheapest repair is always the one made early, before a worn part damages neighboring components. Call (866) 623-1879 for a free estimate, and we’ll quote an exact price before any work begins.
The Bottom Line
Garage door troubleshooting is a process of elimination that always starts with the mechanical system before the electrical one. Run a balance test. Listen to where the sound originates. Watch how the door moves when the opener is disconnected. Most problems are springs, cables, rollers, or tracks, not the opener. Safety is non-negotiable when springs and cables are involved. And when the diagnosis isn’t clear, a specialist who works on your exact brand saves time, money, and frustration. If you’re in Moreno Valley and need a professional eye on your garage door, call Dynasty Garage Door Repair home at (866) 623-1879. Garage doors are all we do, and garage door repair in Moreno Valley is exactly what we’re built for.
Written by the team at Dynasty Garage Door Repair, serving Moreno Valley since 2017.
See the difference
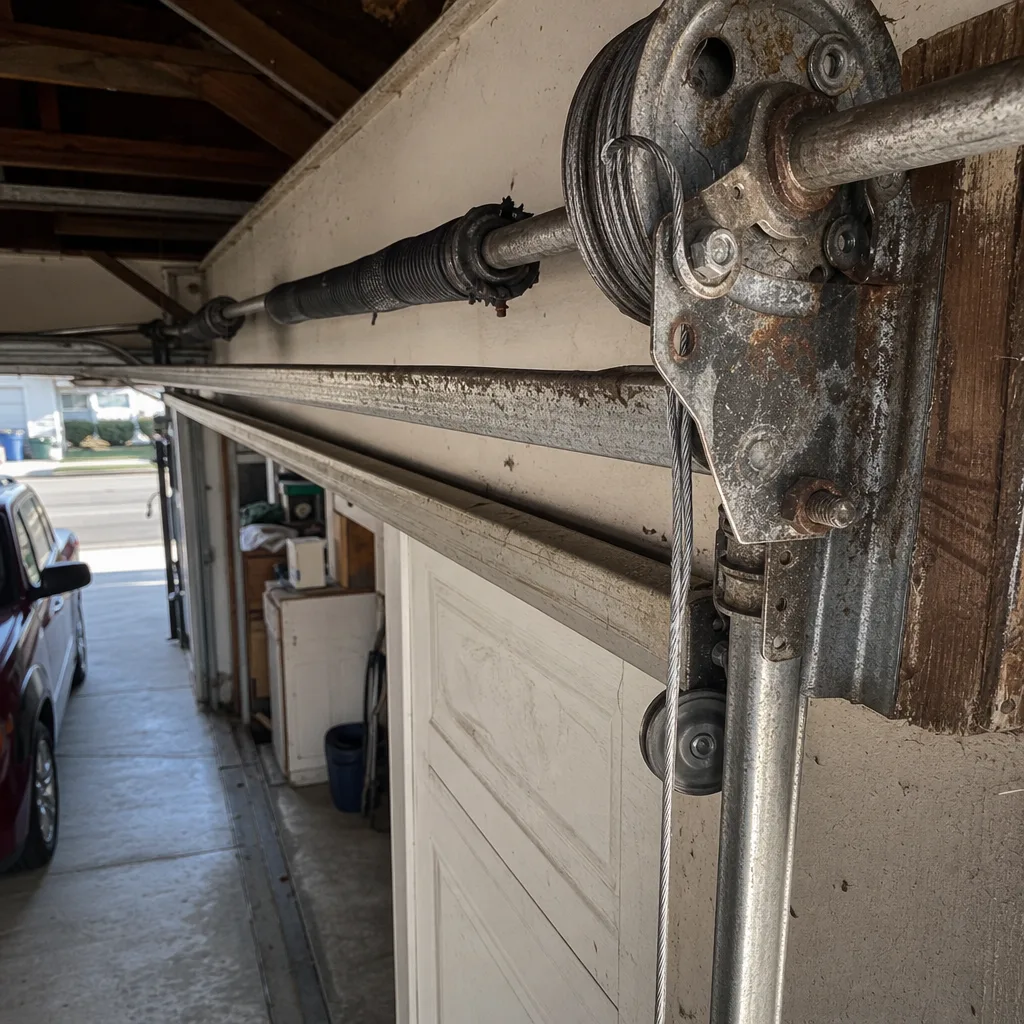 Before
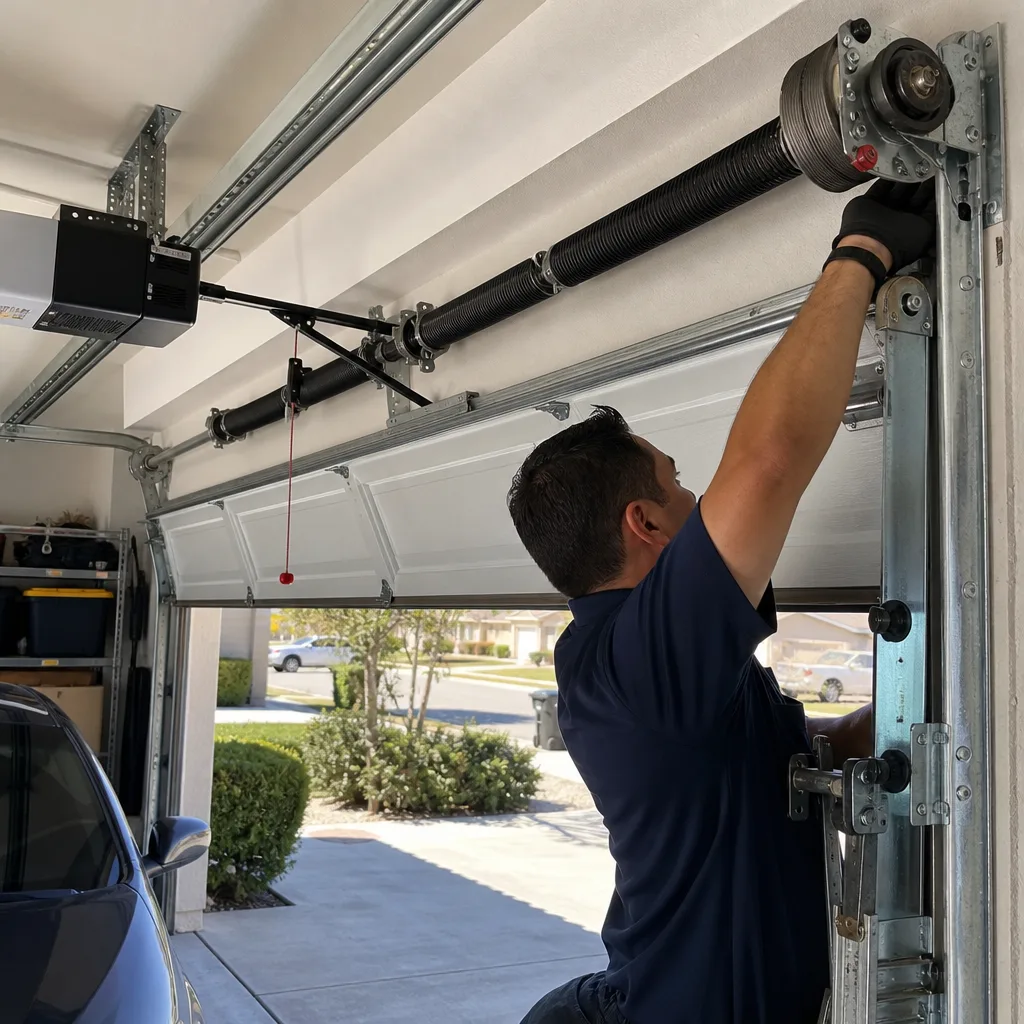 After
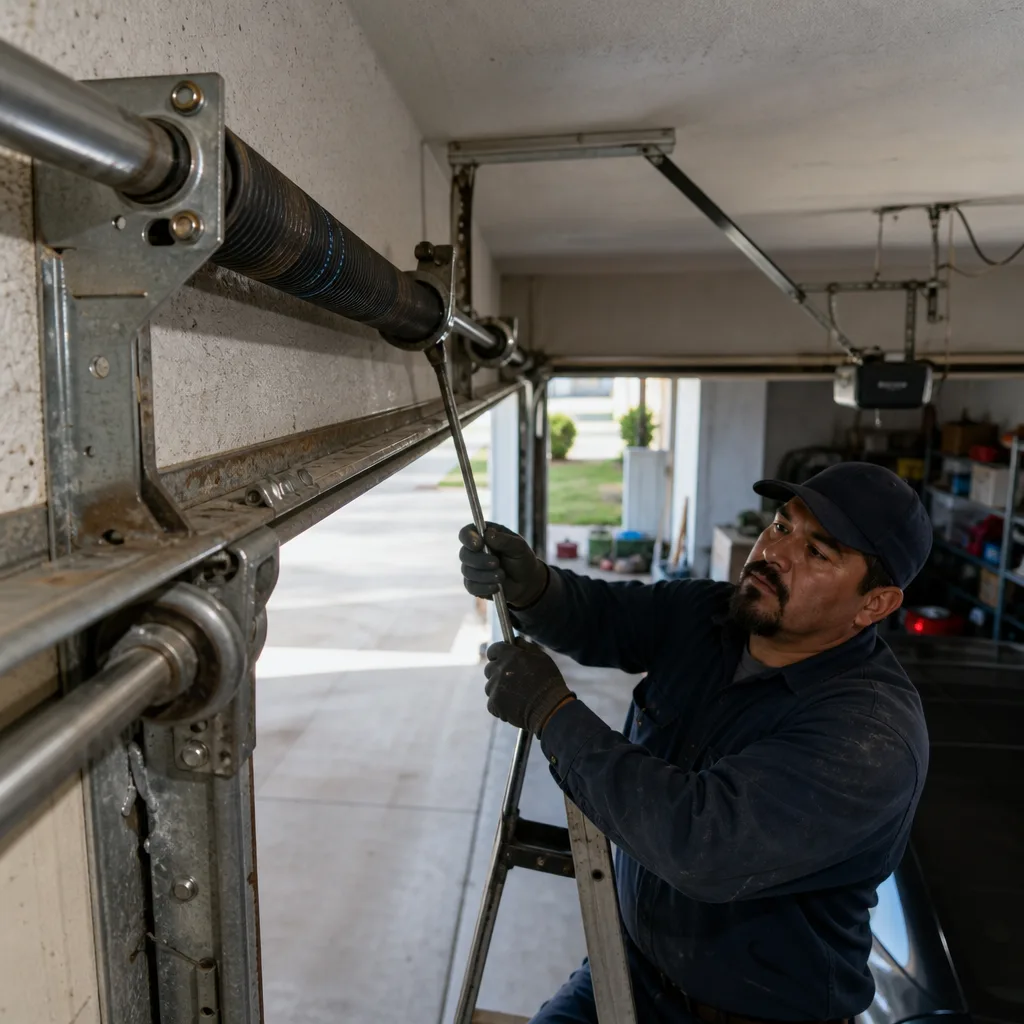 Before
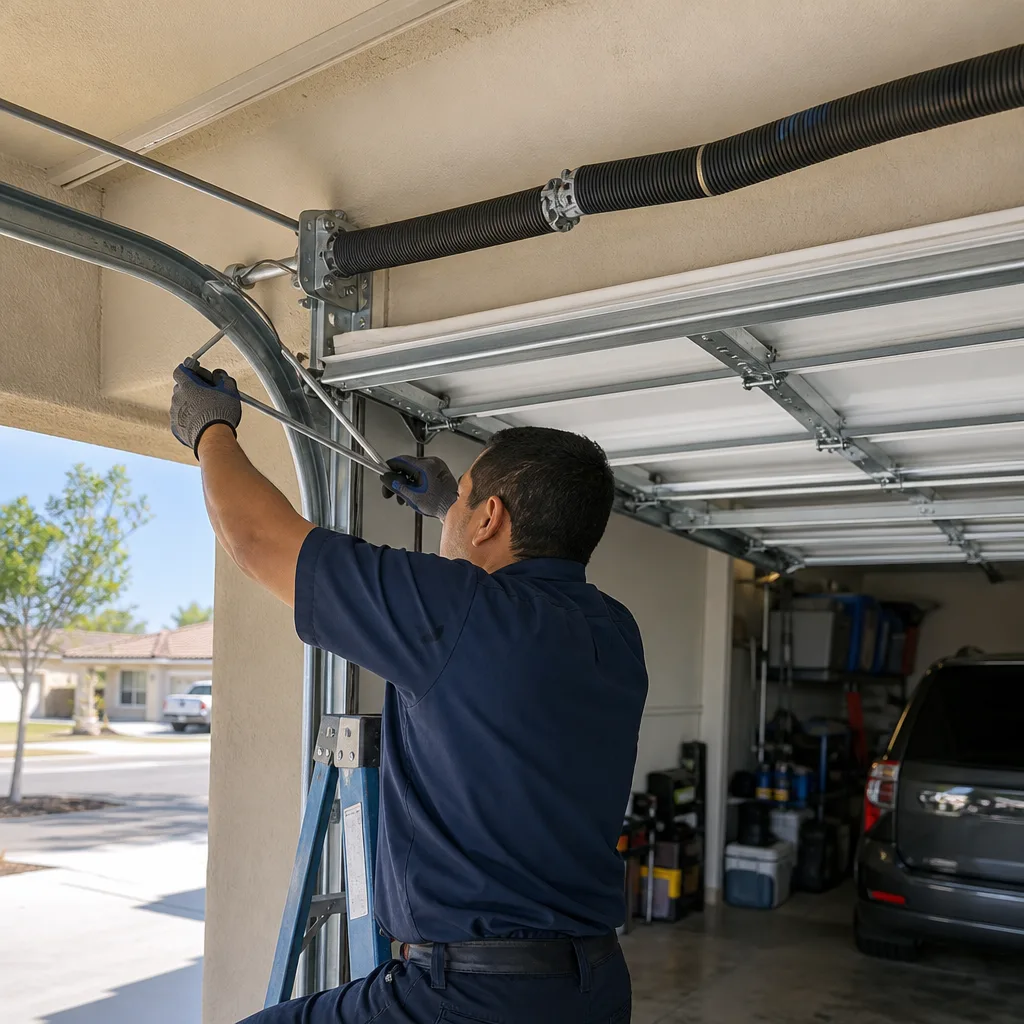 After
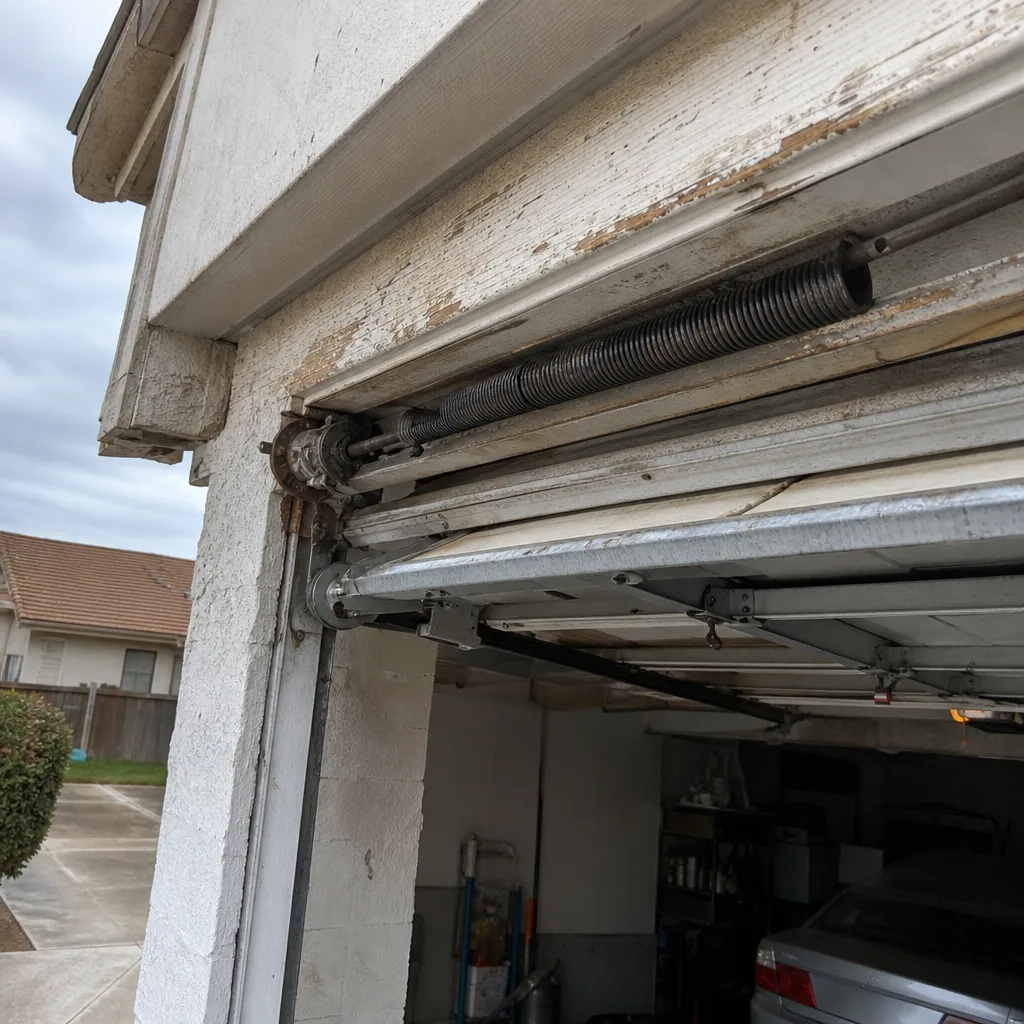 Before
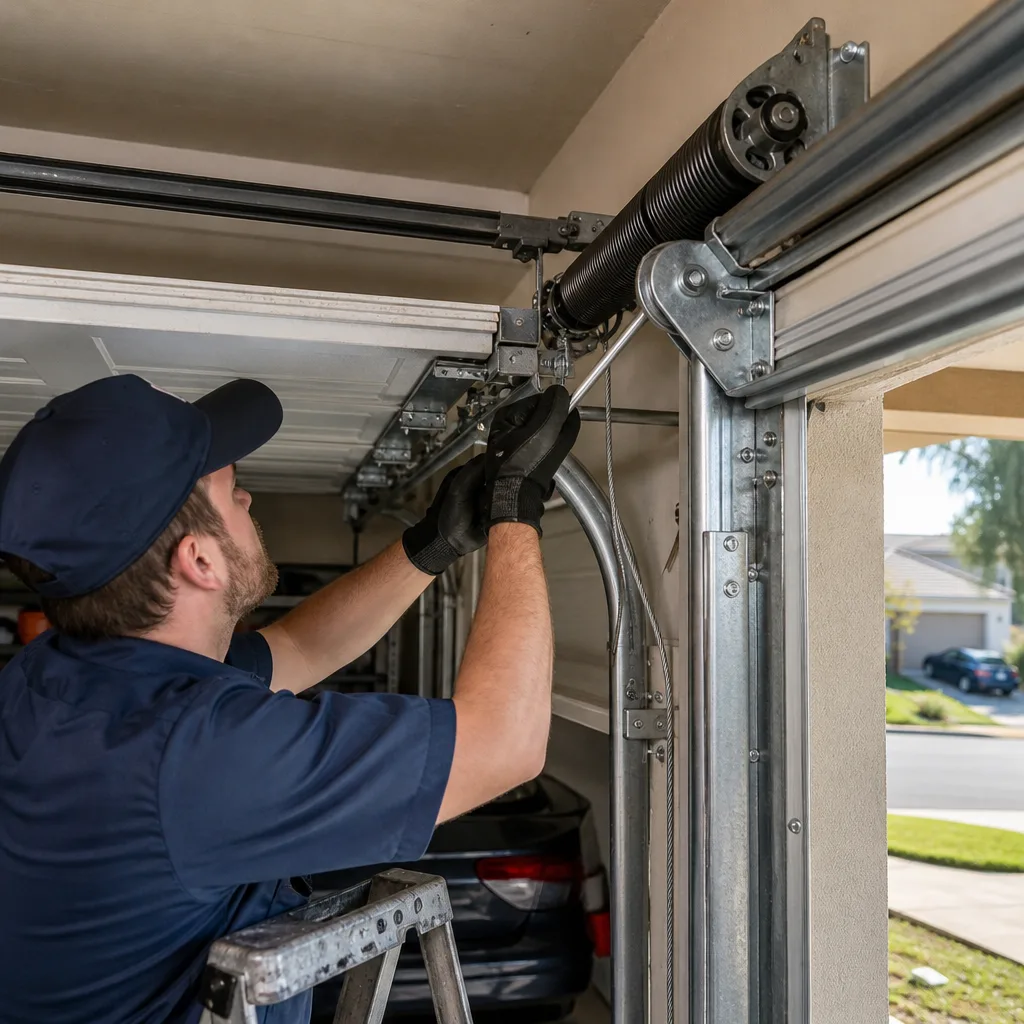 After